There are many people arguing that it is only possible to go for Enterprise firewall. However, there are non-profit making organization or small businesses not able to afford top-end products like Checkpoint, WatchGuard, etc.
Most of the open source firewall operating systems are developed for more than 1 decade and using by millions of individual and organization. Our professional service team is delivering both Open Source and Enterprise firewall or UTM gateway solutions.
In this article, we would like to share some of the real applications of Open Source firewall with happy users for at least 3 years.
First of all, we would like to introduce a case for a primary school with around 100 devices connecting to the network and the internet. This catholic school is not able to afford an Enterprise class UTM gateway and consequent annual maintenance fee. They are using the IPCOP as a static firewall with additional add-ins to protect their web, email and even student database server. Their solution was deployed in 2014 and there is no single case of failure by virus, malware and ransomware. (Remarks: they are using an Enterprise Anti-virus endpoint in education discount together with the IPCOP firewall)
 Another case is the computer lab owned by a Data Science consulting company – Smart Data Institute Limited located in Hong Kong. They are using 2 nodes installed OPNSense as a cluster in front of their own private cloud and their workstations in the lab. However, Sensei is a plugin for firewalls which complement them with features like Application Filtering, Advanced Network Visibility and Cloud Application Control. (Note: their production network is using another Enterprise firewall – contact us for details)
Apart from IPCop and OPNsense, there are still many different open source firewall solutions available in the market. pfSense and OPNsense are those options able to meet Enterprise class demand. IPfire is the one easiest to use and maintain, which is fit for SOHO and small organization without dedicated internal IT resources.
However, there is no perfect security solutions to protect everything. In order to maintain better Information Security, it is important to apply corresponding security policies, such as Computer Security Policy, Data Retention Policy, etc. It is important to review the related policies and the latest technologies in order to balance the productivity and security.
Should you have any question, you can contact us to arrange a free consultation session for seeking the tailored solution for your organization.
Another case is the computer lab owned by a Data Science consulting company – Smart Data Institute Limited located in Hong Kong. They are using 2 nodes installed OPNSense as a cluster in front of their own private cloud and their workstations in the lab. However, Sensei is a plugin for firewalls which complement them with features like Application Filtering, Advanced Network Visibility and Cloud Application Control. (Note: their production network is using another Enterprise firewall – contact us for details)
Apart from IPCop and OPNsense, there are still many different open source firewall solutions available in the market. pfSense and OPNsense are those options able to meet Enterprise class demand. IPfire is the one easiest to use and maintain, which is fit for SOHO and small organization without dedicated internal IT resources.
However, there is no perfect security solutions to protect everything. In order to maintain better Information Security, it is important to apply corresponding security policies, such as Computer Security Policy, Data Retention Policy, etc. It is important to review the related policies and the latest technologies in order to balance the productivity and security.
Should you have any question, you can contact us to arrange a free consultation session for seeking the tailored solution for your organization.
Read More
Another case is the computer lab owned by a Data Science consulting company – Smart Data Institute Limited located in Hong Kong. They are using 2 nodes installed OPNSense as a cluster in front of their own private cloud and their workstations in the lab. However, Sensei is a plugin for firewalls which complement them with features like Application Filtering, Advanced Network Visibility and Cloud Application Control. (Note: their production network is using another Enterprise firewall – contact us for details)
Apart from IPCop and OPNsense, there are still many different open source firewall solutions available in the market. pfSense and OPNsense are those options able to meet Enterprise class demand. IPfire is the one easiest to use and maintain, which is fit for SOHO and small organization without dedicated internal IT resources.
However, there is no perfect security solutions to protect everything. In order to maintain better Information Security, it is important to apply corresponding security policies, such as Computer Security Policy, Data Retention Policy, etc. It is important to review the related policies and the latest technologies in order to balance the productivity and security.
Should you have any question, you can contact us to arrange a free consultation session for seeking the tailored solution for your organization. 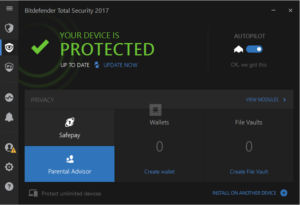 Then, it will prompt for the owner’s account to avoid the “hacking” from your child.
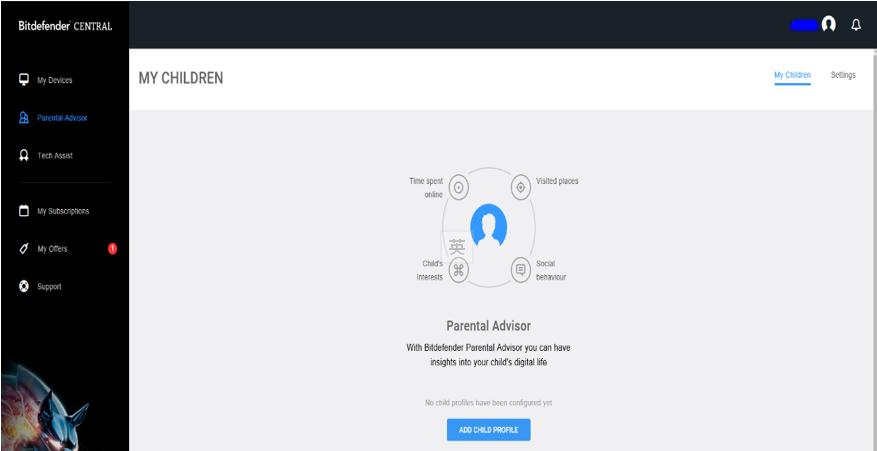
 Next, you are about to create a new custom profile. First of all, you should pick your chlid’s device(s) with Bitdefender product being installed.
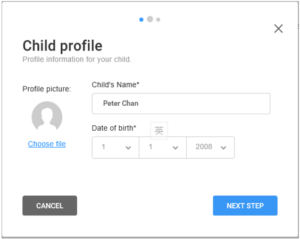
 Input your chlid’s name
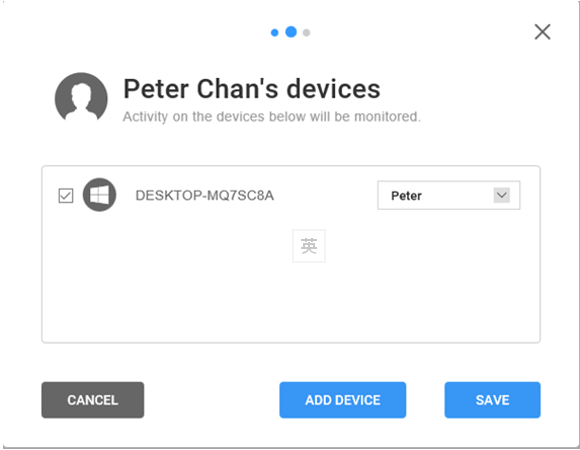
 It will show the related device for the settings.
 Pick the user for the device.
 It is important to input the email account to receive alerts and for which alerts being active for the monitoring.
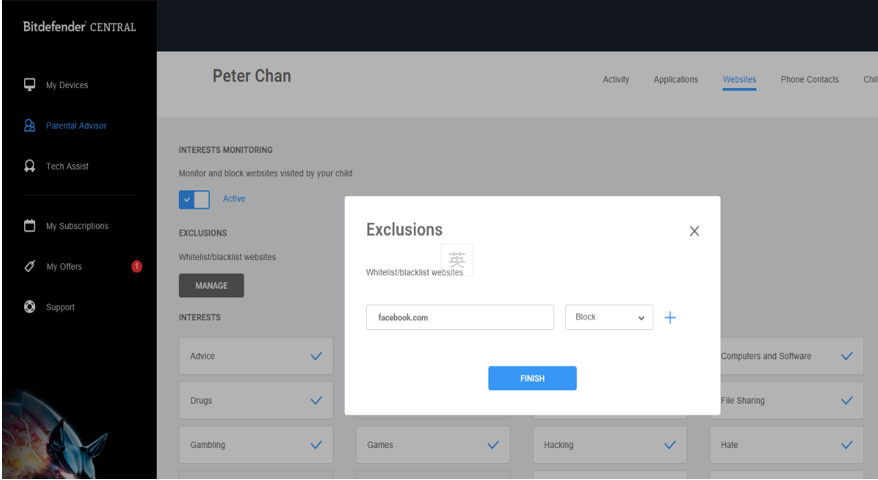
 Moreover, you can create or modify your own customized control by adding hostname(s) into the blacklist or whitelist. In the example below, it shows “facebook.com” being blocked.
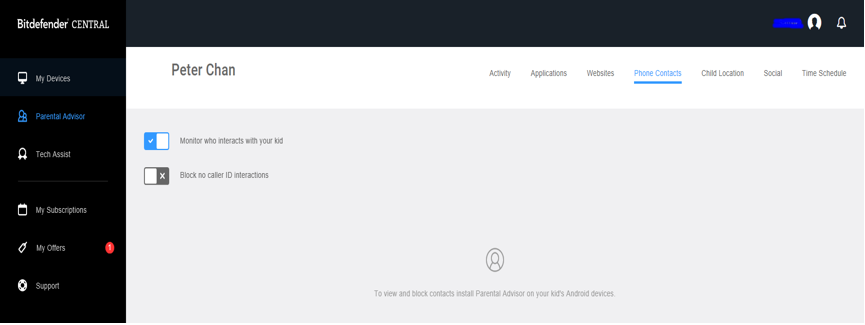
 You can also monitor for whom your child is always talking to.
 Further, you can check your chlid’s current location with the near real-time monitoring.
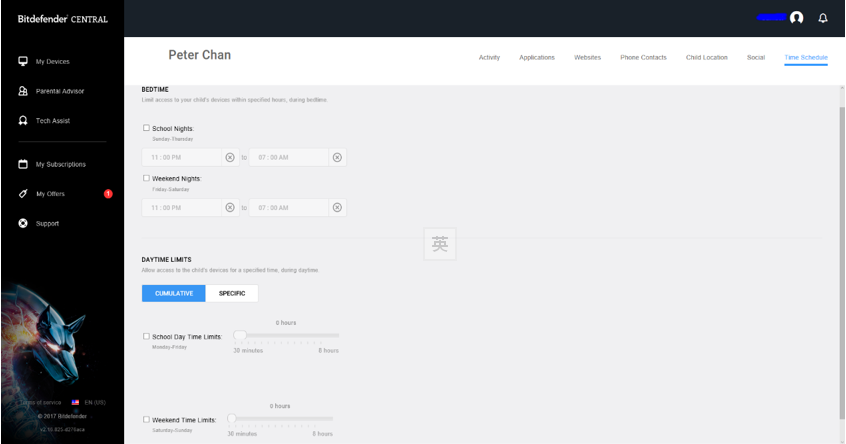
 Meanwhile, you can set for when your child is able to access or use the computer and / or surfing the internet.
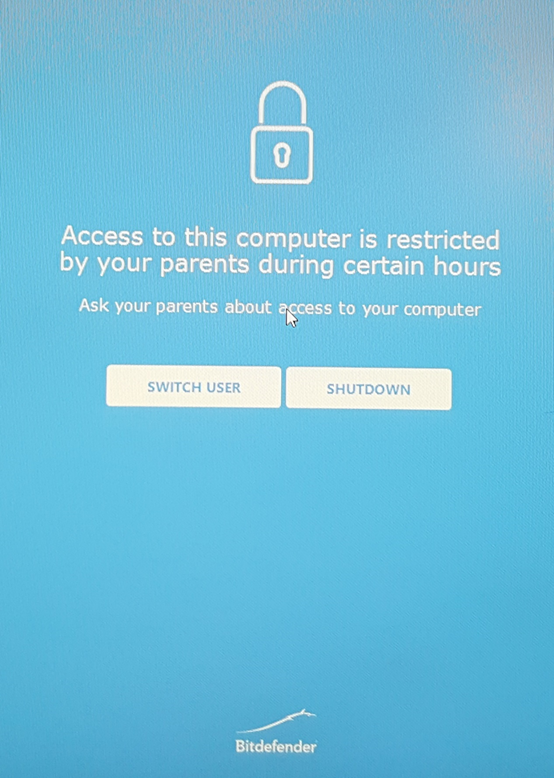
 If your child is trying to log on outside the scheduled time, he / she should see the page below by asking the parents for special request or just switch it off as suggested.
 Conclusion
Freedom is important for everyone. However, it is basic responsibility for parents to protect their children from abuse or day-long usage to affect their children’s health both physically and psychologically.
Conclusion
Freedom is important for everyone. However, it is basic responsibility for parents to protect their children from abuse or day-long usage to affect their children’s health both physically and psychologically. 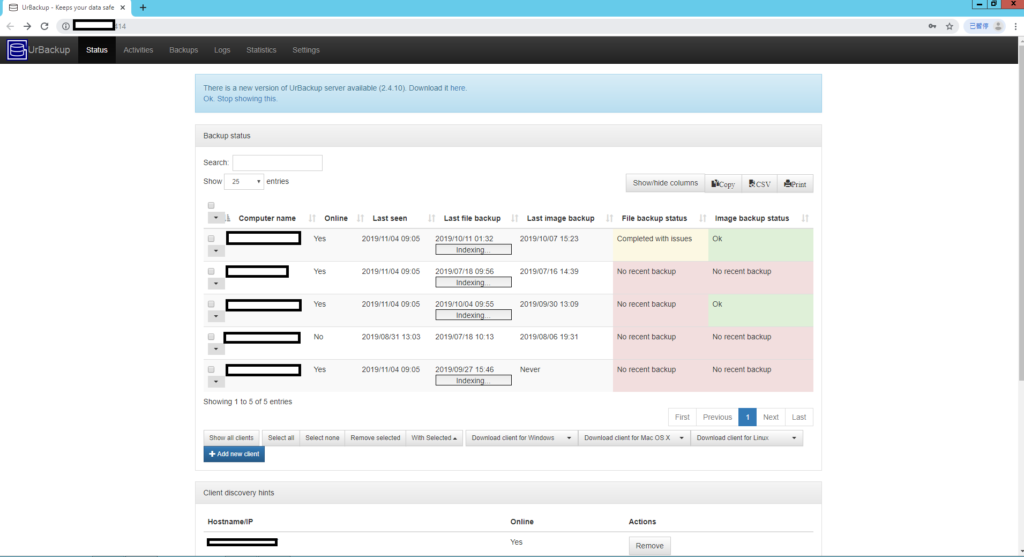
 Notes:
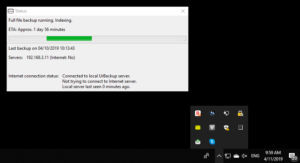
There are 3 different colours of the “Urbackup” client icon.
Notes:
There are 3 different colours of the “Urbackup” client icon.